Tuesday, July 30, 2013

tooth fairy business.

tooth fairy business

A friend asked if I would make something for her daughter, who was on the verge of losing her first tooth.  I created a door hanger (don't you love the shiny gold knob? ha) with a little place for the tooth fairy to come in and arrange the exchange of tooth for coin.

I love the idea of hanging the tooth on the door, don't you?  Instead of trying not to wake the child by fumbling under their pillow in the dead of night...

I used this wine bottle hanger die to create my door hanger.  A slit at the top equals instant transformation.

tooth fairy business

I cut the tooth shape using my silhouette, and two vellum hearts made perfect glittery wings.

tooth fairy business


Inside, a tiny envelope.  perfect drop site.

tooth fairy business


I hope you like it!

Wednesday, July 24, 2013

sweet as pie.

I'm being featured over at Paper Crafter's Library with this card:


I'd love it if you'd click on over to check out the full how-to and extra card pictures!  They're hosting a stamp set and paper pack giveaway, so hurry hurry.

♥.

Tuesday, July 23, 2013

nice buns, hun!

I gave this to my hubby, just for fun:

nice buns, hun.

hee hee.

nice buns, hun.


I colored a trio of cinnamon buns, from CSS' "foodie fun" set and spelled out the word buns with "alpha duo" letters.

nice buns, hun.

I hand-wrote the word "nice" - not the best, but I'm gonna work on that.  I just need to figure out how to get my hand to stop shaking when I go to write on the "real" card.  It was much better on the scrap paper I practiced on.

But enough about the punny card, this was the fun part:
nice buns, hun.

mini cinnamon buns, in our party favor 11 box.  Aren't they adorable?  My sister made them for our Star Wars party (what's a SW's party without princess Leia's buns?) and I begged her for the recipe.  They are not gooey and sticky, but more biscuit-y with a sweet filling.  YUM.  I made them mini-sized to fit into the box, and they are delicious any way you decide to bake them.

Here's the recipe for BISCUIT CINNAMON ROLLS:

Ingredients
2 cups flour
2 tbsp sugar
3 tsp baking powder
1 tsp salt
1/3 cup oil
1/2 cup milk (may need more)
2 tbsp melted butter
1/4 cup brown sugar
2 tsp cinnamon

Directions
Mix all dry ingredients together in a food processor or mixer.  Add the oil and mix only until it becomes a course meal.

Gradually add the milk and mix until just combined.  Add more milk as needed to make a dough that can be rolled out easily.

Roll out the dough into a long rectangle shape.

In a bowl, mix the melted butter, brown sugar and cinnamon together.  Spread the mixture over the dough.

Roll the dough into a log and slice.  Bake at 450 for about 10 minutes, but a lot less if you decide to make baby buns like the ones pictured above.

Enjoy!

nice buns, hun.

Monday, July 22, 2013

it's a spa-aaaah party!

When Sofia turned 8 at the end of April, we hosted a "spa-aaaah" party, and I'm thrilled to finally share it with you.

There are a lot of pictures, so let's get started!

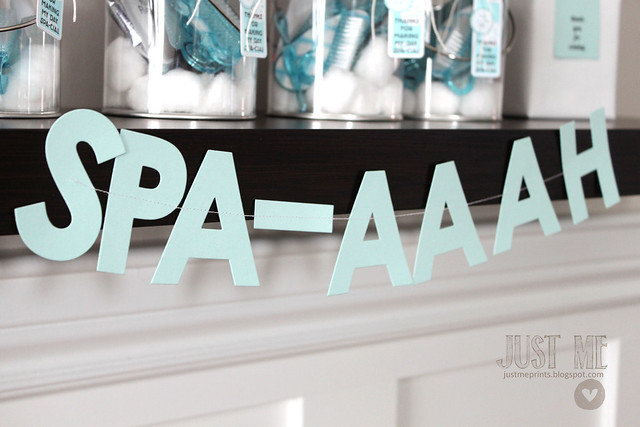
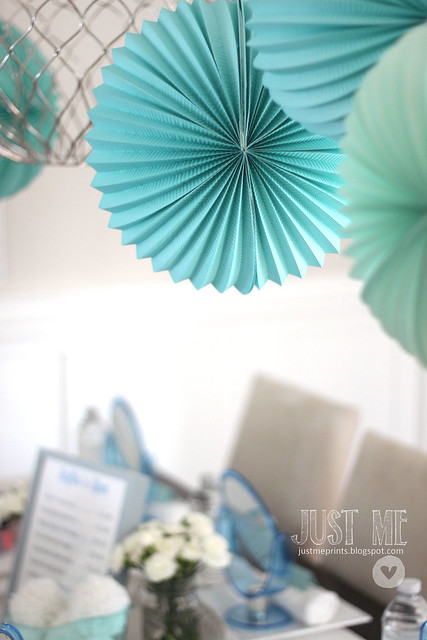
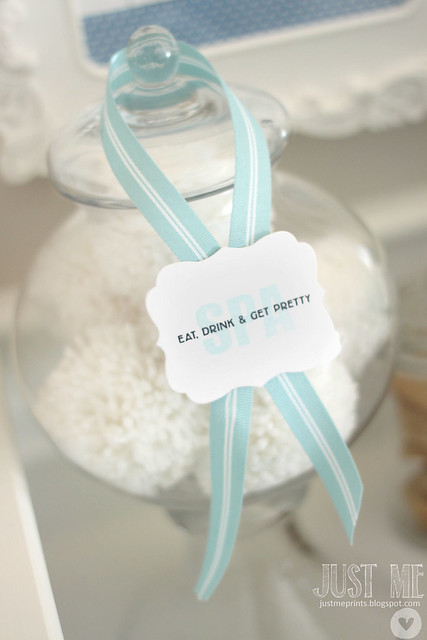
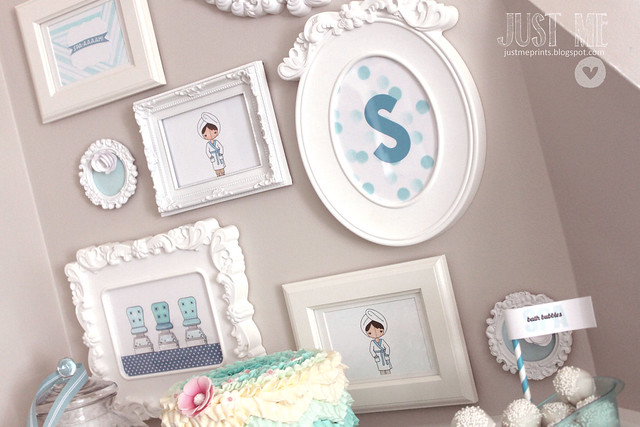
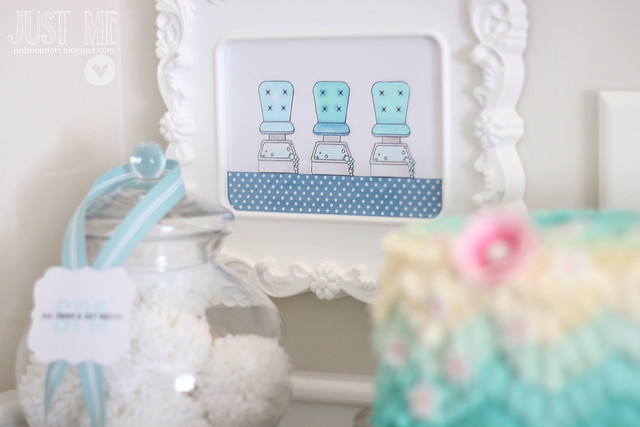
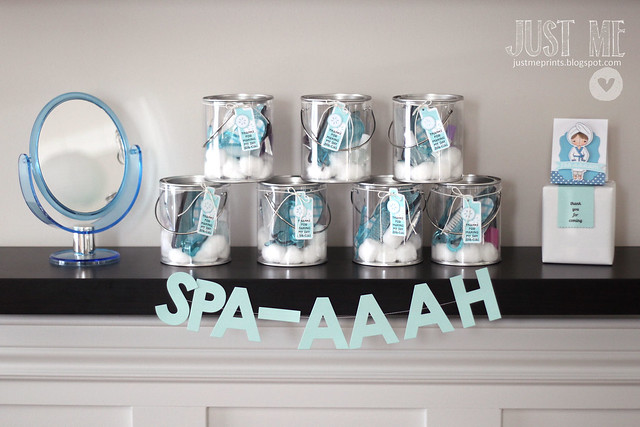
When the girls walked into the party, they saw the decor that we set up in the living room:

spa-aaaah party.

spa-aaaah party.

spa-aaaah party.


spa-aaaah party.

spa-aaaah party.

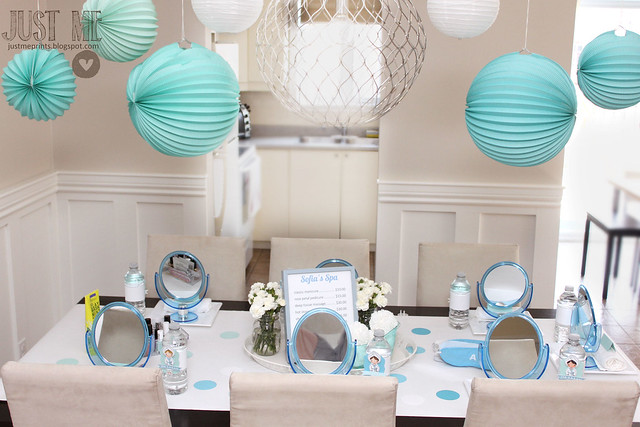
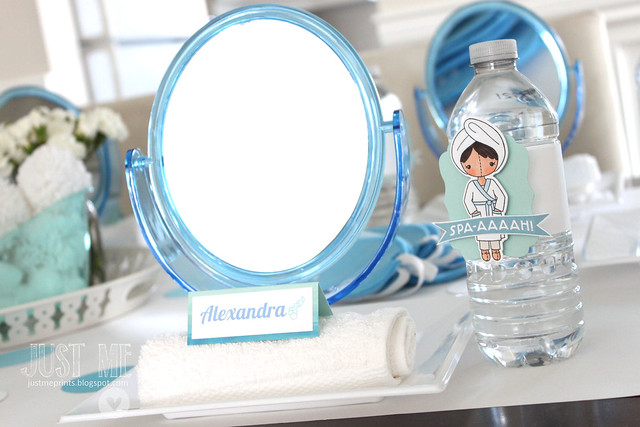
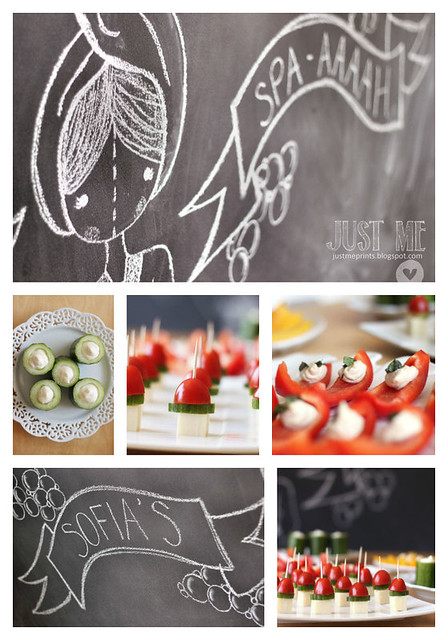
They saw it all and their eyes went wide - I loved it.  We let them look, and then brought them into the kitchen for lunch: little sandwiches, little spa veggie bites, and, for the very picky eaters (ahem, my daughter) pizza.  All against a little DIY chalk art...

spa-aaaah party.


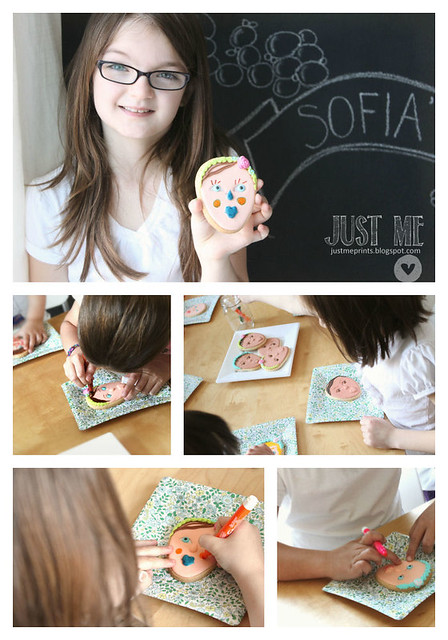
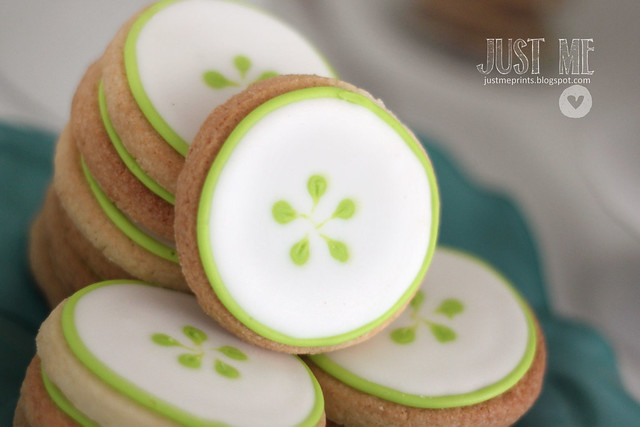
After lunch, but before facials, we had an crafty-yummy treat for the girls.  My friend Marlyn (montreal confections) made lady face cookies that the girls could decorate!  They had a great time "applying" edible make-up to their cookies.

spa-aaaah party.

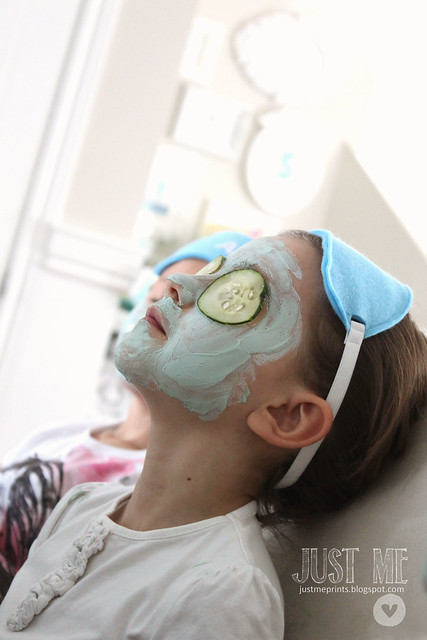
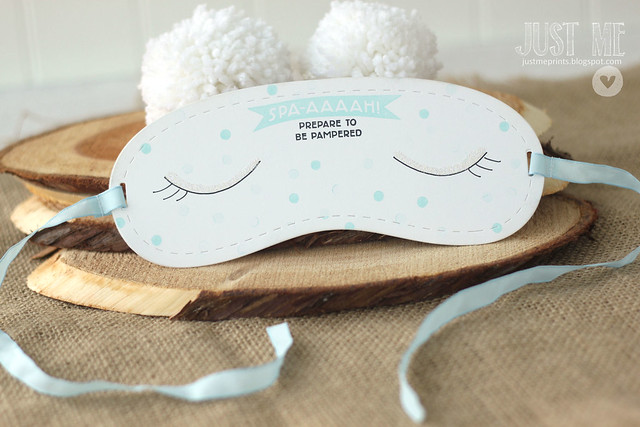
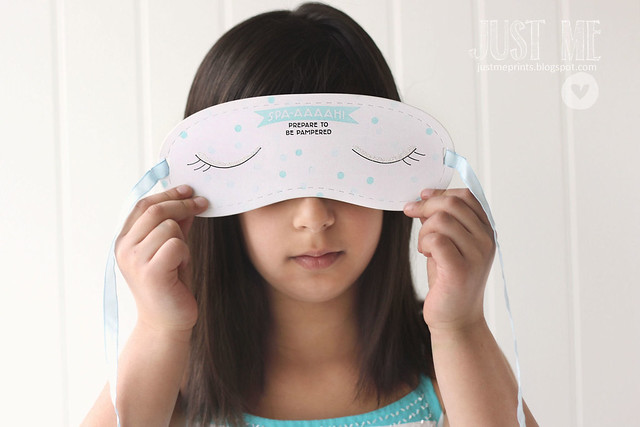
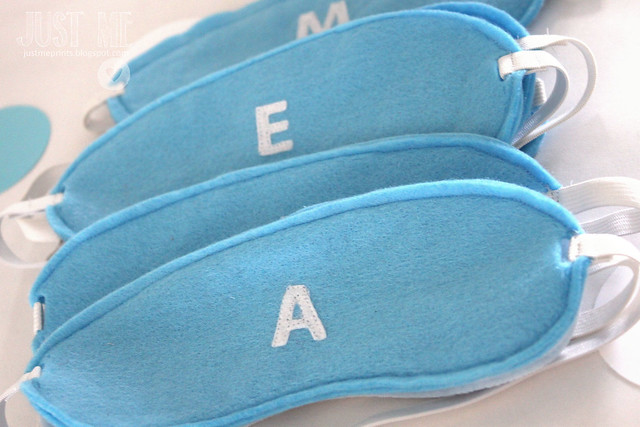
After that, we pampered the girls with facials and manicures.  The handmade eyemasks were favors, but doubled as headbands to keep the girls' faces hair-free...

spa-aaaah party.

spa-aaaah party.

spa-aaaah party.

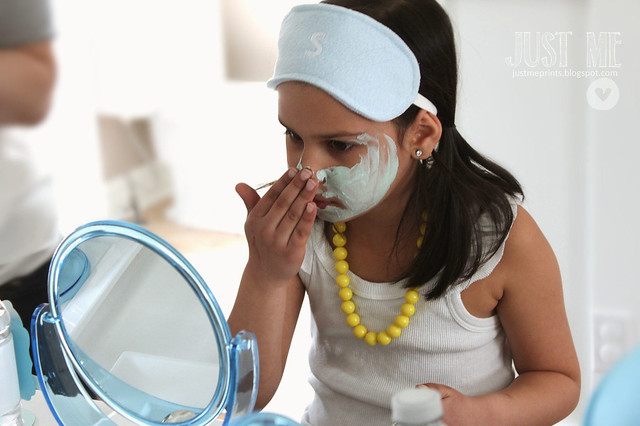
When the masks started tingling, a few of them got nervous and rushed to wash it off.  Miss-cool-as-a-cucumber in the picture above was one of them. ha.

spa-aaaah party.

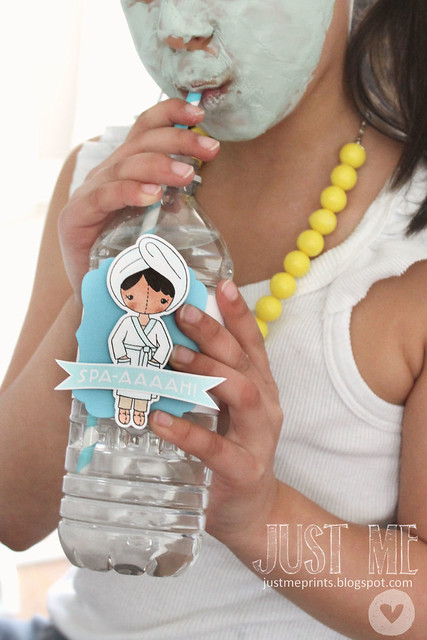
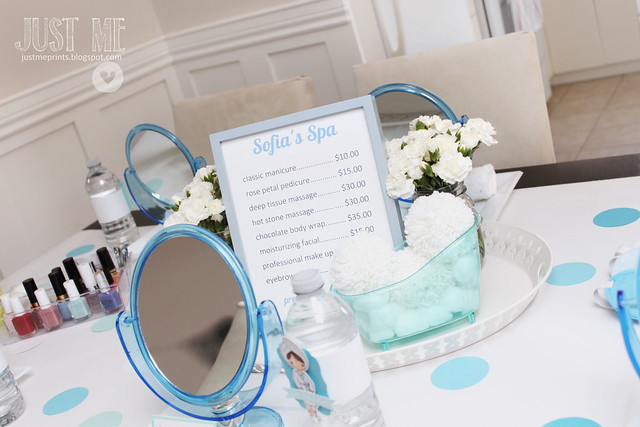
All of the paperie was created using the spa party collection from CSS (click, click, and click.)

spa-aaaah party.

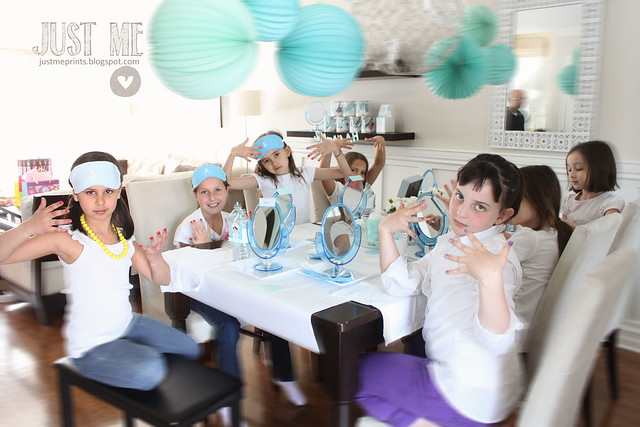
Apparently, the manicures brought out the ganster in the girls...

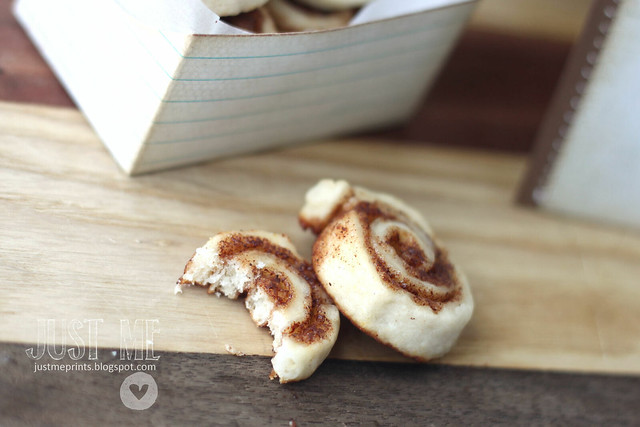
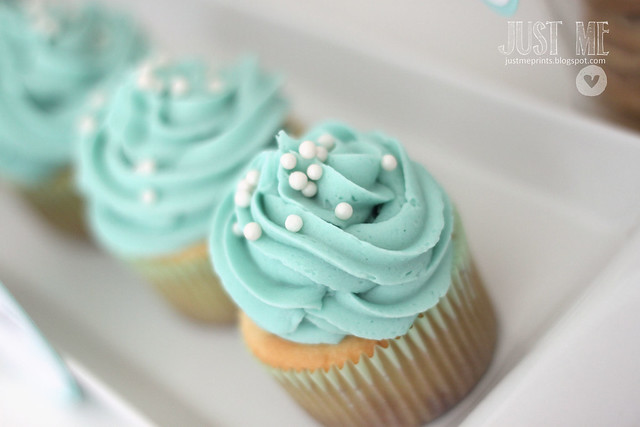
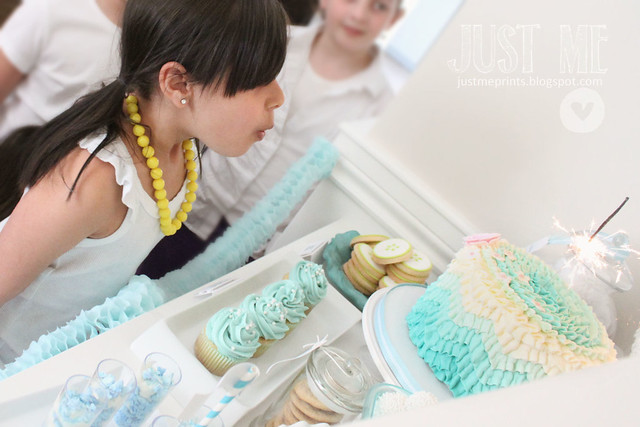
Once the nails were dry, we showed off the desserts:

spa-aaaah party.


spa-aaaah party.

spa-aaaah party.


spa-aaaah party.

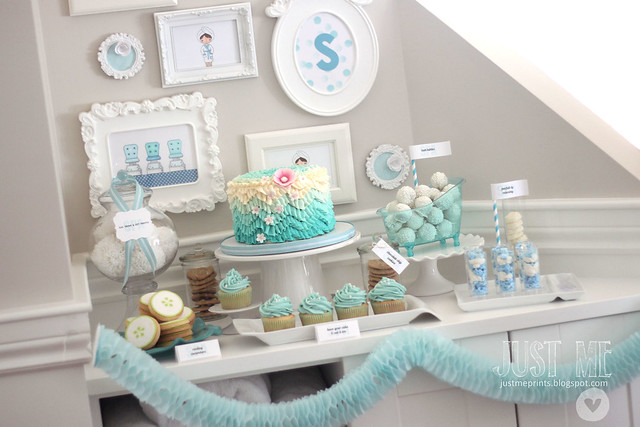
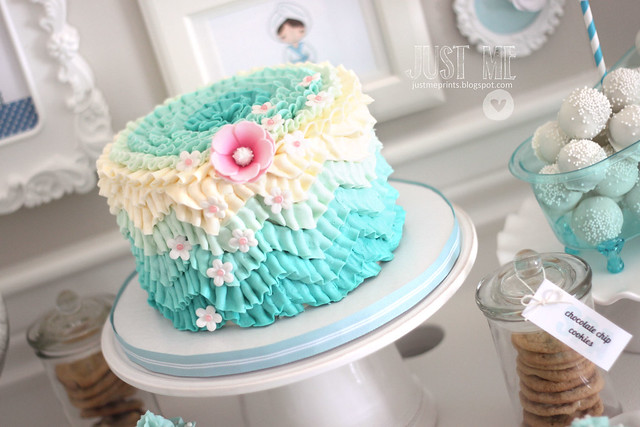
Marlyn made this amazing ruffle cake!  She swears it isn't hard to create in her video tutorial.

spa-aaaah party.

spa-aaaah party.

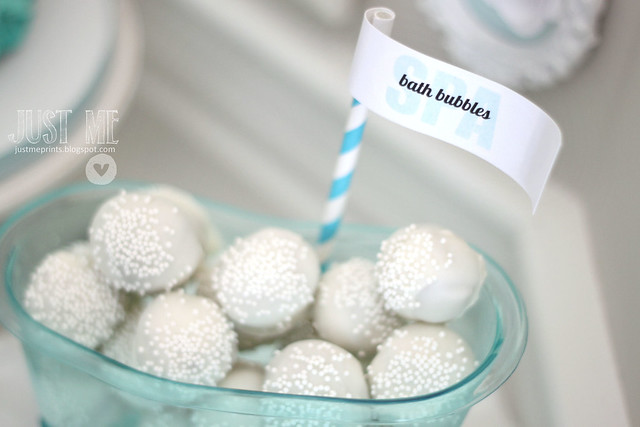
Bath bubbles are my fave: they were cake balls, dipped in white candy melt and heavily sprinkled.  Also, thank you Target for that bathtub find.

spa-aaaah party.

spa-aaaah party.

spa-aaaah party.

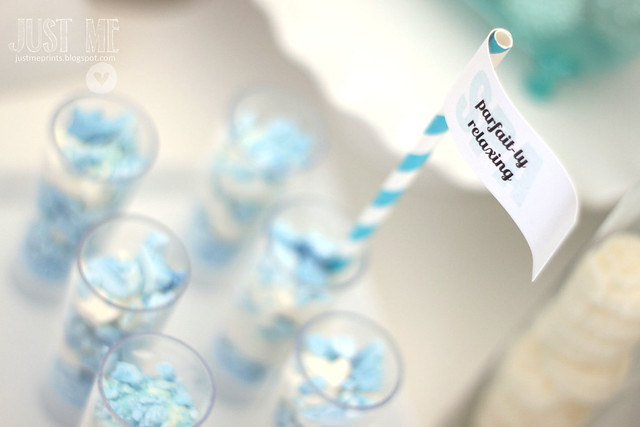
The parfaits were the sleeper hit of the party.  I found the idea on the wedding chicks blog, and thought they would be for the adults, but the kids loved them too!

spa-aaaah party.

spa-aaaah party.

spa-aaaah party.

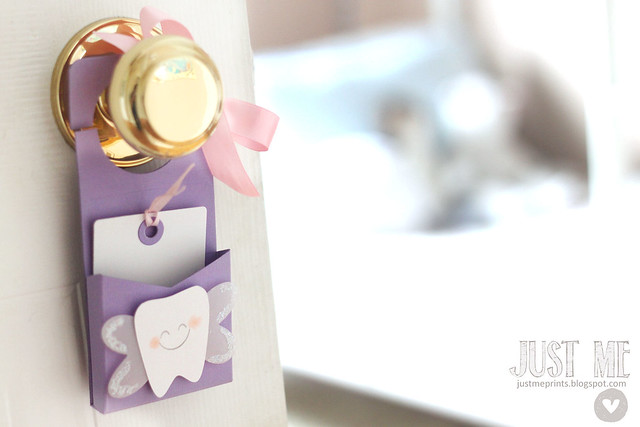
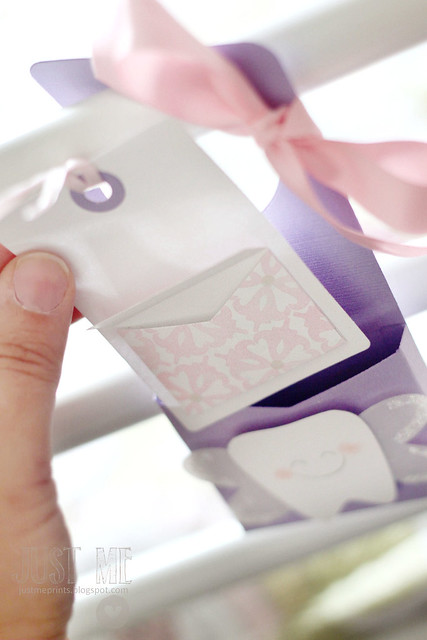
After presents, and giggling about how they felt like "a million bucks" (seriously, I can't make this stuff up!) we presented them with their own take-home pedicure kits.

spa-aaaah party.

I hope you've enjoyed our party!  Thanks for coming to the Spa-aaaah!

spa-aaaah party.

Sunday, July 21, 2013

prepare to be pampered {spa party invitations}

I am so excited to share Sofia's spa party with you all... finally!  We hosted it a few months ago, and I have been sitting on a pile of pictures ever since.

prepare to be pampered.

I'm sharing spa-aaaah party invites today, cut with CSS's eye mask die.

prepare to be pampered.

I used images from our spa set to stamp the "spa-aaaah" banner and the sentiment underneath it.

A simple dot image, stamped multiple times before re-inking, gave me a subtle background without overwhelming the mask.

prepare to be pampered.

With a black copic multiliner, I drew in sleepy eyes, and glittered the lids.  I drew myself a template first, to make sure my eyes were lined up.

All of the party information was printed and cut on a separate eye-mask, and adhered to the back of this layer.

prepare to be pampered.

The party girl.

I hope you'll come back tomorrow for the full party!

Saturday, July 20, 2013

double congrats {CSS RIR)

double congrats.

Twins are double the fun, right?  I'm excited to show you twin rag dolls and a matching card, for today's RIR post.

double congrats.


I enlisted the help of a professional to show these dolls.  Deb, from "sprouting jube jube" is a good friend and an amazing seamstress.  I showed her the dolls that I sewed using our CSS dies (click here and here), and she jumped in and made a set of her own... with upgrades :)

double congrats.

She gave the boy doll a cute little faux fly - I love all that stitching on the jean - and she created a flouncy dress for the girl. me loves.

double congrats.

I love the pigtails with the ribbon in them!

double congrats.

For my card, I turned to those doodly frames again, but this time turned them upside down.

double congrats.


I masked the outside of the frames so that I could stamp their faces with only the eyes showing.  I then sponged ink inside the frames - blue for the boy, pink for the girl.  I like my clichés, what can I say...

double congrats.

To match the whimsical frames, I drew my own numbers, 1 & 2, at the top of each.  I used my favorite CSS alpha set to spell out the "congrats" greeting.

I hope you like what Deb and I have created for today's post!  More creative clicks here and here.

Friday, July 19, 2013

yetis and sunflowers {new lawn fawn sneaks!}

yetis and sunflowers {new lawn fawn sneaks!}

Welcome back to another day of lawn fawn sneak peeks!  Today I have another 2 cards that clearly do not belong in the same blog post, haha.

Let's start with the sunny sunflower from "our friendship grows":

yetis and sunflowers {new lawn fawn sneaks!}


I cut off half of the petals on a few of the flowers, to make them look like they're angled differently... and added a smiley face from "sunny skies" to brighten things up even more.

yetis and sunflowers {new lawn fawn sneaks!}

I love that sentiment, don't you?  so sweet.  Behind it, and behind the sunflowers, I created a striped background using the highlighter side of my copic marker and a ruler.  To me, that is so much easier than trying to line up a stamp sometimes...

yetis and sunflowers {new lawn fawn sneaks!}

And now, for a something completely different..."yeti, set, go" - it's so cute!

yetis and sunflowers {new lawn fawn sneaks!}

I hand-drew the hills, which means they are imperfect, but I prefer "whimsical," okay?  I stamped and masked and stamped the trees, colored them in and added snowy white and glitter to each one.

yetis and sunflowers {new lawn fawn sneaks!}

It was hard for me to tell if the yeti was hostile or friendly, so I added a heart to his belly.  I feel like the heart makes him all cute and cuddly :)

See what else is new over on the lawn fawn blog today!